Welcome to Codeflow
- Step 1 - Create your diagram using the Codeflow Editor
- Step 2 - Add Codeflow triggers into your application source
- Step 3 - Open your diagram in the Codeflow application
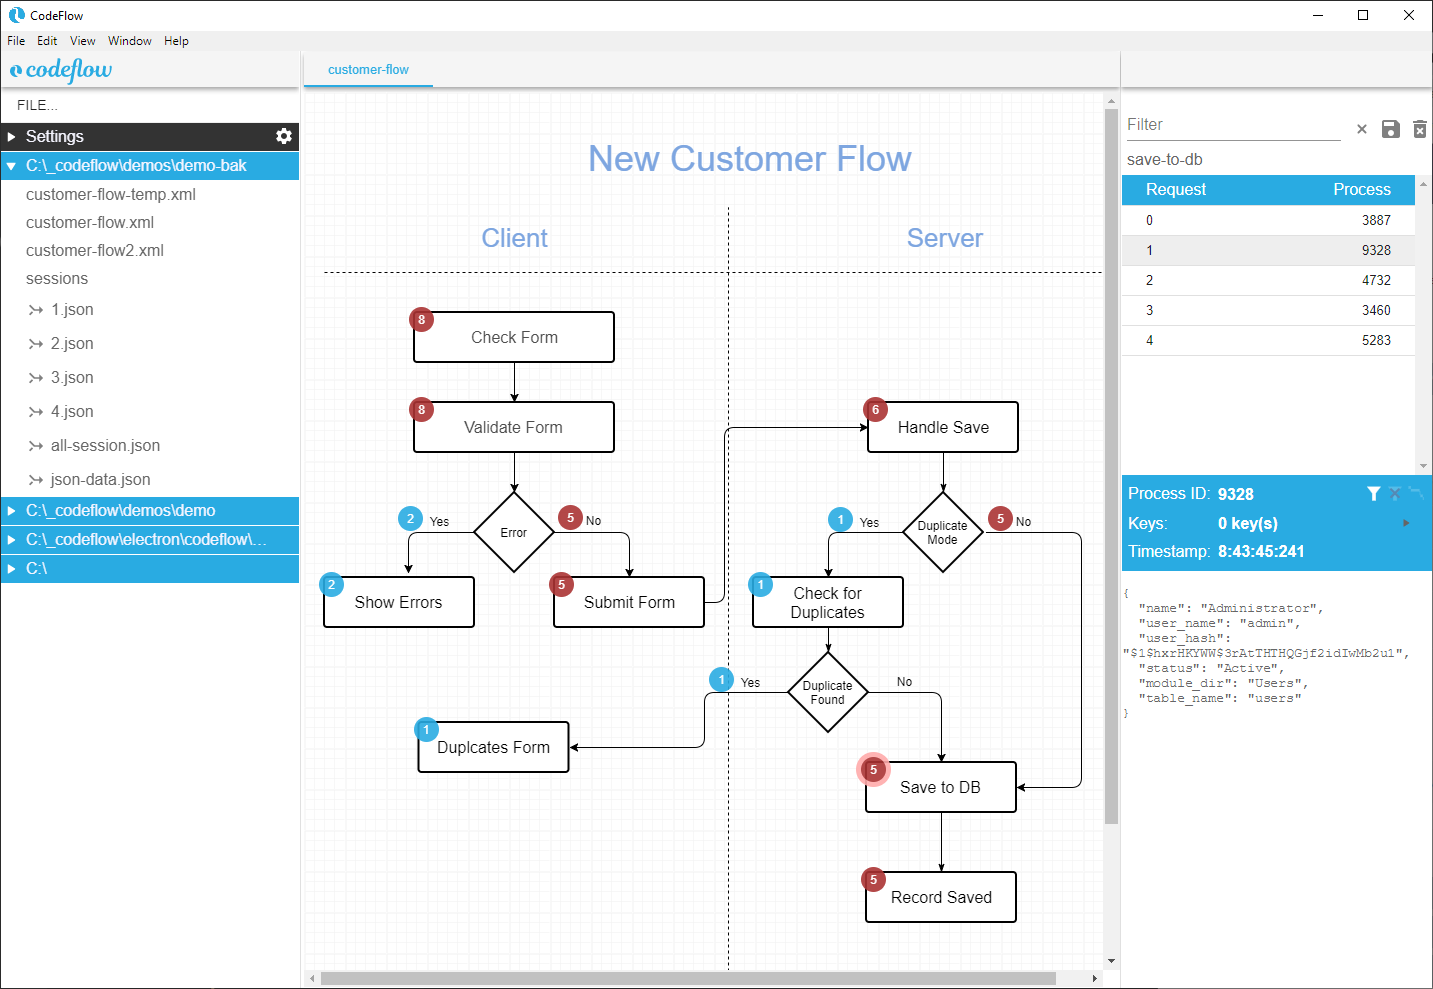
Your application can now be documented, debugged and tracked in an easy to use visual way.
How To
Step 1 - Create your diagram using the Codeflow Editor
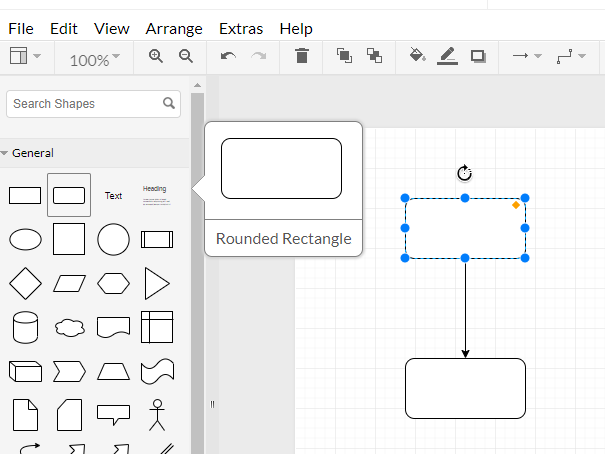
Choose the diagram type you want to create from the left palette and drag shape onto the canvas area.

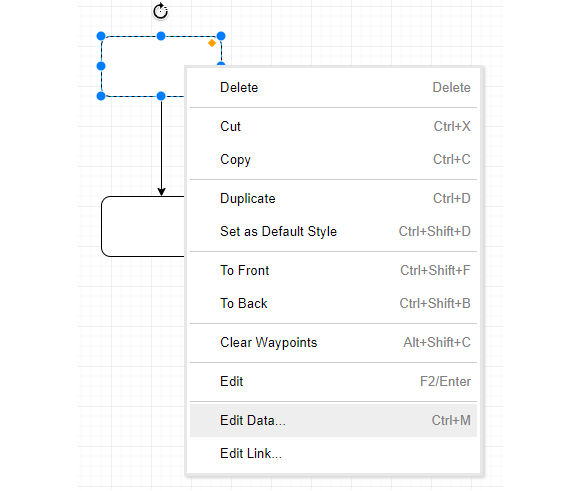
Select a shape, right click to show the context menu and click the 'Edit Data...' link

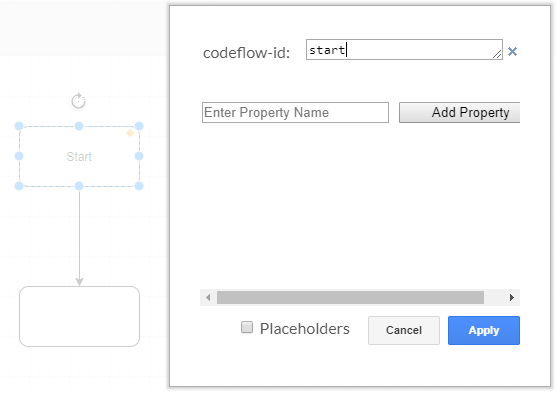
Enter the new property 'codeflow-id' and give this property the name you want to assign to the shape

When you have finished with your changes, click the File/Save menu. The diagram file will be downloaded to your machine you will be prompted to save it.
Step 2 - Add Codeflow triggers into your application source
Codeflow triggers can be added anywhere in your application source code using any language that can send basic http requests. You can find an example of how this is implemented in JavaScript in the file at...
$.post( "http://localhost:8081", {    // The port that the codeflow app is running on
  diagramid:'customer-flow',          // The name of the codeflow diagram. This is the file name
  stepid: "start",                    // The name of the step in the diagram we're triggering
  action: 'enter',                    // Unused for now
  processid: procid,                  // This is the id of the process being triggered
  data: somedata,                     // Arbitrary data that can be sent to the codeflow app
  timestamp: new Date().getTime()     // Timestamp for the event
});
Step 3 - Download and install the Codeflow app from Github at github.com/valcas/codeflow/releases

Open your diagram in the Codeflow application and start sending trigger events to it
